
“You are never going to amount to a thing”
Whoever said that was apparently under-estimating just how valuable that companies in general and the internet in particular find you.
The web companies want to know what you have been up to, I am NOT paranoid while the bricks and mortar companies want to get a picture of your for their files in Big brother is watching (you buy underwear).
It is pretty much impossible to not have a footprint that can be bought, sold or tracked by anyone who is really interested in you. The closest you could come to that would be to live in a tent or a shack in the backwoods while not owning any device with a microprocessor and only purchase things with cash.
That would be hard and frankly rather a dull life. Yet, it is possible to make it harder for search engines and web sites to know consistently what things are interesting to you.
It is possible to change your browser settings to remove all cookies after each close, or to do all of your browsing in a private or incognito window. The cookies provide plenty of information so deleting them is actually not a bad start but there are a few other methods that can be done as well.
Deleting cookies and installing privacy tools is good, but what would be more secure than knowing that any virus or malware that you may have encountered since your last browsing session is removed.
This service could be performed by any number of solutions, not limited to
- re-installing your operating system each day
- booting from a live boot dvd
- browsing from a virtual machine
The first option is obviously ridiculous even if it were possible by the majority of people who surf on the internet. The second option is actually not a bad solution the only problem is that not only cookies and malware are gone on each boot but also every little configuration option starting with screen resolution and ending with your special tools or browsers.
Browsing from a virtual machine
This is a pretty good option as new personal computers sold today have a lot of disk space and may also have a big processor with a oodles of ram as well.
With a virtual machine it is possible to install your favorite Windows operating system or Linux distribution. Furthermore once the operating system has been installed it can be configured to have any and all unique programs or setup.
Yet a virtual machine is not a magic. It would still be vulnerable to malware or viruses that would be there on the next boot and any cookies or other tracking agents would still be there as well.
The magic comes in because it is possible to have a “reference” or “template” virtual machine that you setup to be perfectly aligned with your desires, but then you make a copy of it and use the copy each time you wish to browse the internet.
This provides both a machine that is perfectly setup but because it is a temporary copy, it will be deleted (optimally for the) next start up.
VMWare Workstation
I hope to write up a similar guide for VirtualBox and perhaps VMPlayer in the near future but as I happen to have an older version of VMWare workstation my first discussion on this topic will be using VMWare.
VMWare workstation is a pretty nice program for virtualizing those old operating systems that cannot be retired because you cannot afford the new version of the software. It might be a useful solution if the printer drivers (as an example) are not available for the new OS.
One day I might do a nice in depth review of what VMWare offers but today it is only important to know that VMWare can allow another operating system simultaneously on your PC.
Up until now, I never really bothered with a virtualized machine for browsing because VMWare Workstation has all of its machines in a single tabbed pane. This makes it a bit inconvenient to switch between multiple virtual machines and your host operating system. (more later about how to get around that limitation)
Creating a machine
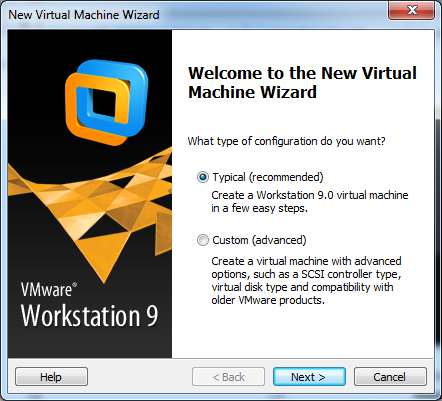
I am not going to discuss each option for setting up a machine as my version of this software is a bit out of date (version 9 versus the current 12.5). If you have installed an operating system on a PC you will find VMWare to be reasonably similar. Simply boot up the new machine with your operating system (or ISO file) attached.
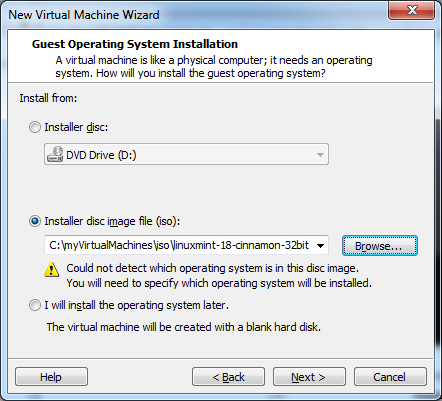
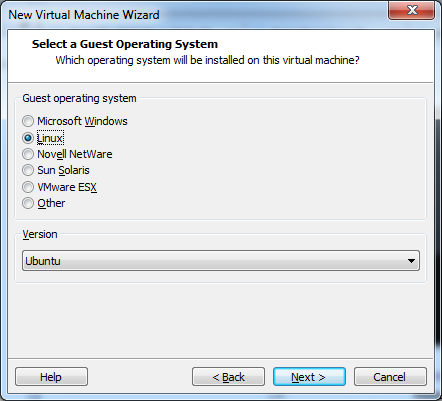
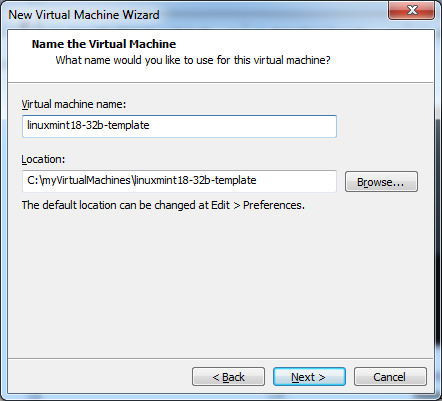

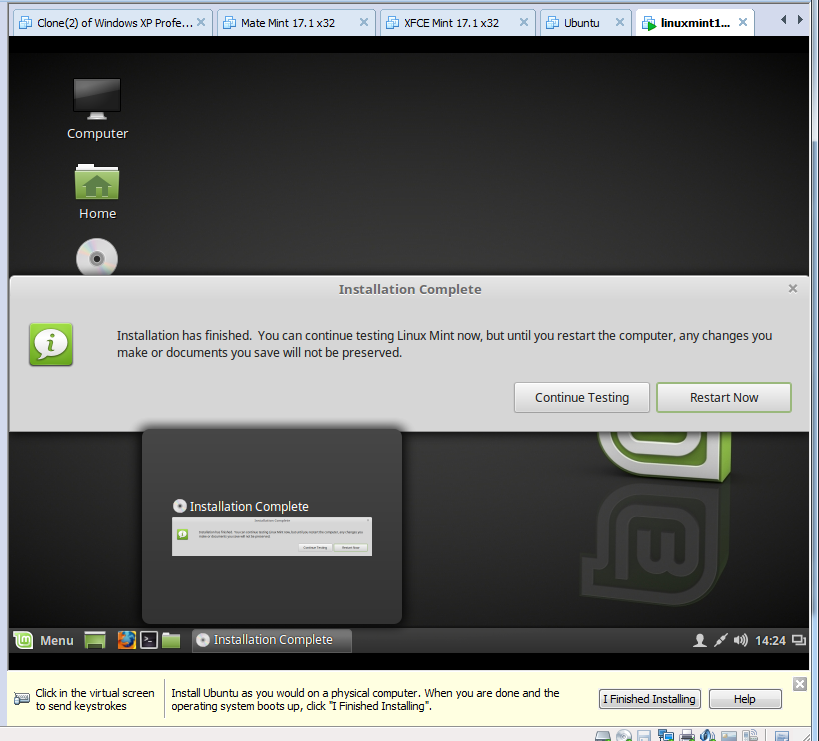
I have called my new virtual machine linux18-32b-template, and have installed Linux Mint 18 32bit version. I personally like Linux but this same technique will work for windows installations as well.
The only other manual step that needs to be performed is to select clone from the VMWare application to create our first copy or clone of our template machine. (VM -> Manage -> Clone)
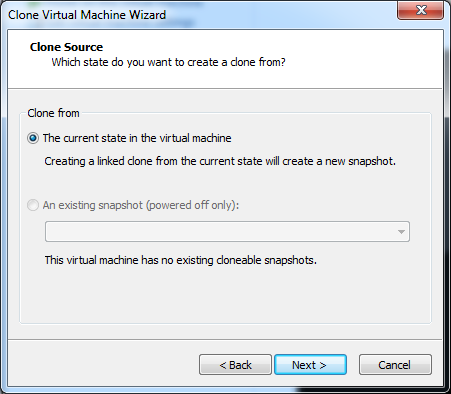
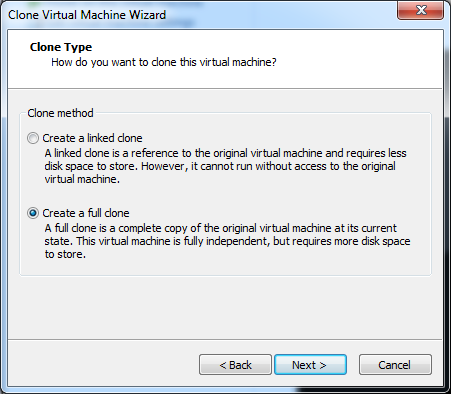
The first two steps are just verifying that we want a full copy of the current state of our virtual machine. Step three actually doesn’t do more than give our new clone a name as well as to decide where it will be located
Note: It is important that you use a different directory for the clone.
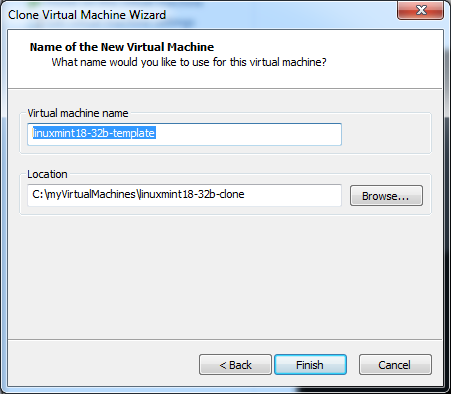
I could have, and perhaps, should have used a new name or better name for my virtual machine in case I ever choose to run it from the VMWare application.
By using the clone function, VMWare will do all of the hard work to make sure that the virtual machine is consistently named and all of those tiny little parameters or directory settings are properly changed.

The last step is actually the easiest. Simply create a small batch file to copy the disk drive images from the template machine to the clone machine.
@echo off
cd /d c:\myVirtualMachines
set DST=linuxmint18-32b-clone
set SRC=linuxmint18-32b-template

echo copying files

copy %SRC%\linuxmint18-32b-template-s001.vmdk %DST%\linuxmint18-32b-template-cl1-s001.vmdk
copy %SRC%\linuxmint18-32b-template-s002.vmdk %DST%\linuxmint18-32b-template-cl1-s002.vmdk
copy %SRC%\linuxmint18-32b-template-s003.vmdk %DST%\linuxmint18-32b-template-cl1-s003.vmdk
copy %SRC%\linuxmint18-32b-template-s004.vmdk %DST%\linuxmint18-32b-template-cl1-s004.vmdk
copy %SRC%\linuxmint18-32b-template-s005.vmdk %DST%\linuxmint18-32b-template-cl1-s005.vmdk
copy %SRC%\linuxmint18-32b-template-s006.vmdk %DST%\linuxmint18-32b-template-cl1-s006.vmdk
copy %SRC%\linuxmint18-32b-template-s007.vmdk %DST%\linuxmint18-32b-template-cl1-s007.vmdk
copy %SRC%\linuxmint18-32b-template-s008.vmdk %DST%\linuxmint18-32b-template-cl1-s008.vmdk
copy %SRC%\linuxmint18-32b-template-s009.vmdk %DST%\linuxmint18-32b-template-cl1-s009.vmdk
copy %SRC%\linuxmint18-32b-template-s010.vmdk %DST%\linuxmint18-32b-template-cl1-s010.vmdk
copy %SRC%\linuxmint18-32b-template-s011.vmdk %DST%\linuxmint18-32b-template-cl1-s011.vmdk

"\Program Files (x86)\VMware\VMware Workstation\vmware.exe" -x -n -q %DST%\linuxmint18-32b-template.vmx
The number of disk image files and the names of the images may vary. You may actually only have a single large file if you choose to create your disk image at a single file when creating your virtual machine.
Also, with some very careful machine creation it might have been able to have the same names for my disk images in both my template and my cloned virtual machines.
** warning **
Not every file that contains a vmdk extension seems to be part of the disk images. In my case there was one additional file that appeared to be part of the disk drives.
linuxmint18-32b-template.vmdk
This file actually is a configuration file for the disk images describing their size as well as well as the disk names. If you accidentally copy this file as well, then you will be telling VMWare the names of the original disk files (ie linuxmint18-32b-template-s001.vmdk ) but in the location of the cloned machine (ie linuxmint18-32b-template-cl1-s001.vmdk).
So this makes it impossible to simply copy all files with the extension of vmdk from the reference directory to the cloned directory.
The last line of my batch file simply tells VMWare Workstation to start up and to run the machine pointed to by the configuration file.
"\Program Files (x86)\VMware\VMware Workstation\vmware.exe" -x -n -q %DST%\linuxmint18-32b-template.vmx
The three parameters that VMWare will accept are so interesting that they should receive their own special description.
| Parameter value | Description |
|---|---|
| -x | Run the machine named |
| -n | Open up machine in new window |
| -q | Quit application when machine is shutdown |
| -X | Run the machine named but full screen. |
Now that this batch file has been created, it is possible to put a shortcut for this file on the desktop. This way it will really convenient to start our browsing virtual machine. Simply double click on this batch file to start up a separate window running the virtual machine. Obviously you should try and run this batch file if already have this machine running.
The downside
The downside is not too terribly great but should be mentioned for full disclosure. It is important that periodically you run the template VM image and install any security updates. This might be operating system, application patches or even virus software updates.
Periodically, you might want to set up some more defaults for your browsing convenience. This might be some standard web pages that you visit often or even new browser plugins. This is not difficult but somewhat inconvenient to have to setup permanent configuration in a separate virtual machine.
These two situations are not difficult but may prove one reason for anyone not paranoid about his/her security to decide against implementing this more secure browsing solution.
