
There are probably a lot of ways to create web services programs but the simplest way I could think of was to create a project using Eclipse and Jersey.
It turns out that restful services are really easy to summarize but a bit more involved to describe in the way of a teaching tutorial.
I have read up on the topic in the O’Reilly published book “RESTful Java with JAX-RS 2.0” by Bill Burke. There is a lot of information starting with how to do this the hard way from scratch all the while moving on to how JAX-RS and markup can simplify the task.
I will not summarize everything that is described in the book but I will say that it if you want to get a working knowledge of restful services this is a pretty easy way to go about it. The book is pretty focused on the server side itself. The nice thing about creating a server like this is that it is easy enough to test using a simple web browser.
I have gone a small bit further and my examples will include some client code that will actually use the services that I created. This is was done both as a simple java client and also with a simple html client that also used a bit of java script.
It was this last part that actually seemed the most interesting as you can then control the entire “application” from server to client. The book uses xml examples but I did also get do some research on both java script, JSON and html/css. It is possible that these are also highlighted in the future but at the moment they are not of a great interest to me.
Restful Services Setup from Scratch
There are a number of things that need to be setup for creating a web service and there are a number of ways to get this properly setup. The way I choose was to create a new “Dynamic web project” in eclipse.
I created a new workspace to ensure that all setup needs to be done from scratch.

In this first dialogbox you can see that the “Target runtime” is an empty list. This is because no web server has been defined.
Simply click on new runtime to define one.
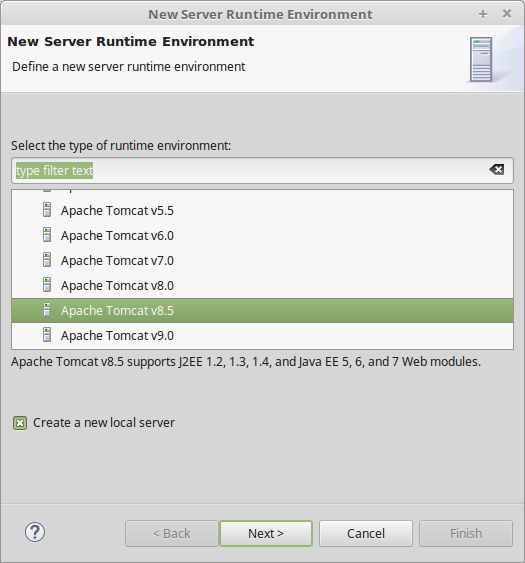
Simply select which version of Tomcat is installed on your computer. The version that I had installed was 8.5.11.
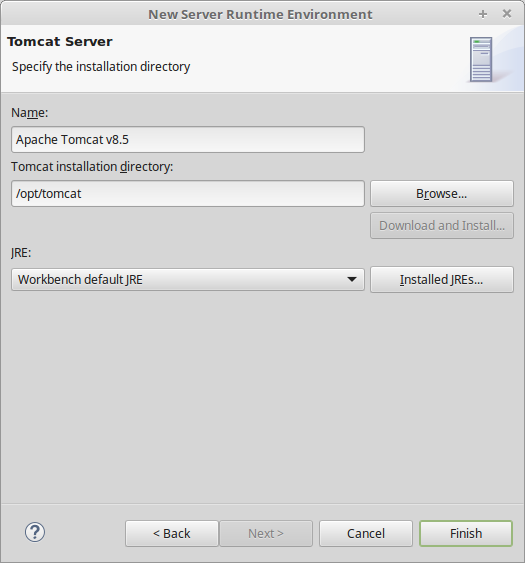
Basically select the install directory of Tomcat.
Note: The structure of the Tomcat installation should be the same regardless of what the install directory is called. However, when I was first trying to get the permissions for Tomcat setup I had problems using any path other than /opt/tomcat. Once the permissions were corrected any path could be used.
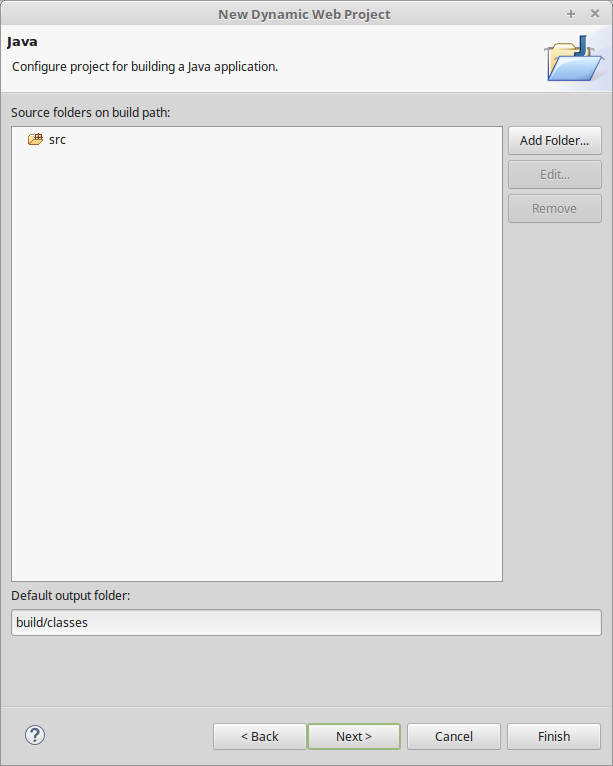
Once the Tomcat server is defined, it is just a matter clicking through the next three dialog boxes.
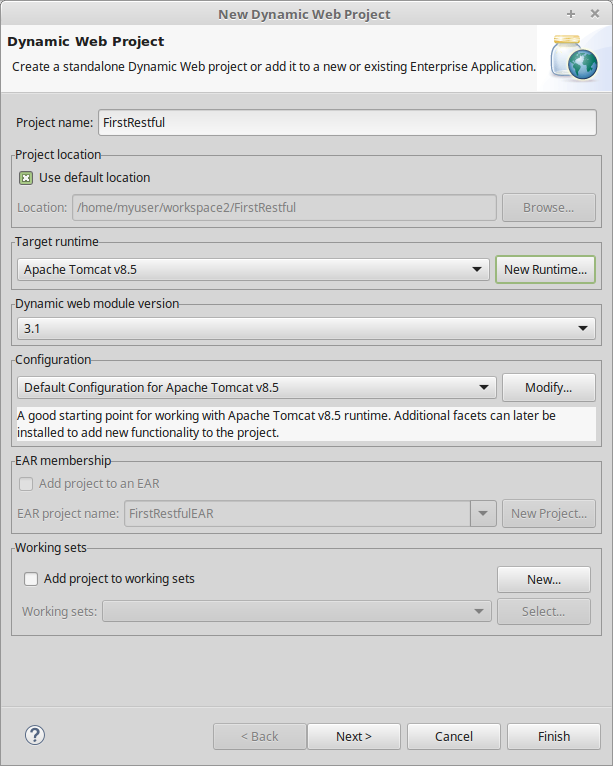

We can set the context root of our URI to anything at here.This example it is FirstRestful.
Once you press Finish the rest of the structure is created.
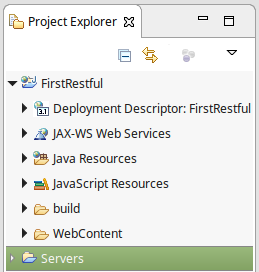
Step 2 – adding Jersey
What is Jersey? It is an implementation of JAX-WS (Java API for XML Web Services) for creating web services in XML format. This makes it really easy for creating a small server. All that needs to be done is to move the Jersey libraries into the correct spot under the WebContent folder. Once this has been done then the basic framework is in place.
There is both a version 1 and version 2 of Jersey available on this site, newer must be better so of course I downloaded 2.25.1.
jaxrs-ri-2.25.1.zip
This zip file contained three directories full of jar files, add all of these to the project. Simply unpack the zip and put all of the jars files into the root of the WebContent/WEB-INF/lib directory.
Now that Jersey is added to the project all that is left is the source code.
Step 3 – adding the code
The last bit is to add the restful code to the project. This first example actually does little more than display “Hello World”.
Ok, ok, I did get a bit ahead of myself and you can also see that I have created sayHelloXml and sayHelloHtml as well. These were actually only used from the browser, you can forget about them for right now.
package com.acmesoft;

import javax.ws.rs.GET;
import javax.ws.rs.Path;
import javax.ws.rs.Produces;
import javax.ws.rs.core.MediaType;

@Path("/Communicate")
public class HelloWorldEx {

    @GET
    @Path("/hello")
    @Produces(MediaType.TEXT_PLAIN)
    public String sayHelloTxt() {
    	return "Hello World\nHaving a great time!";
    }

    @GET
    @Path("/hello")
    @Produces( {MediaType.APPLICATION_XML})
    public String sayHelloXml() {
      	return "<Magazine>" +
		"<Year>2016</Year>" +
		"<Month>6</Month>" +
		"<Title>Economist</Title>" +
		"<Price>9.99</Price>" +
	"</Magazine>";
    }

    @GET
    @Path("/html")
    @Produces(MediaType.TEXT_PLAIN)
    public String sayHelloHtml() {
    	return "<h1>This is 'h1' heading</h1>";
    }
}
There is one other small file that needs to be setup, it is the web.xml file. This is the configuration file to setup the Jersey for this servlet.
<?xml version="1.0" encoding="UTF-8"?>
<web-app xmlns:xsi="http://www.w3.org/2001/XMLSchema-instance" xmlns="http://java.sun.com/xml/ns/javaee" xsi:schemaLocation="http://java.sun.com/xml/ns/javaee http://java.sun.com/xml/ns/javaee/web-app_3_0.xsd" id="WebApp_ID" version="3.0">
   <display-name>User Management</display-name>
   <servlet>
      <servlet-name>Jersey RESTful Application</servlet-name>
      <servlet-class>org.glassfish.jersey.servlet.ServletContainer</servlet-class>
         <init-param>
            <param-name>jersey.config.server.provider.packages</param-name>
            <param-value>com.acmesoft</param-value>
         </init-param>
      </servlet>
   <servlet-mapping>
   <servlet-name>Jersey RESTful Application</servlet-name>
      <url-pattern>/*</url-pattern>
   </servlet-mapping>
</web-app>
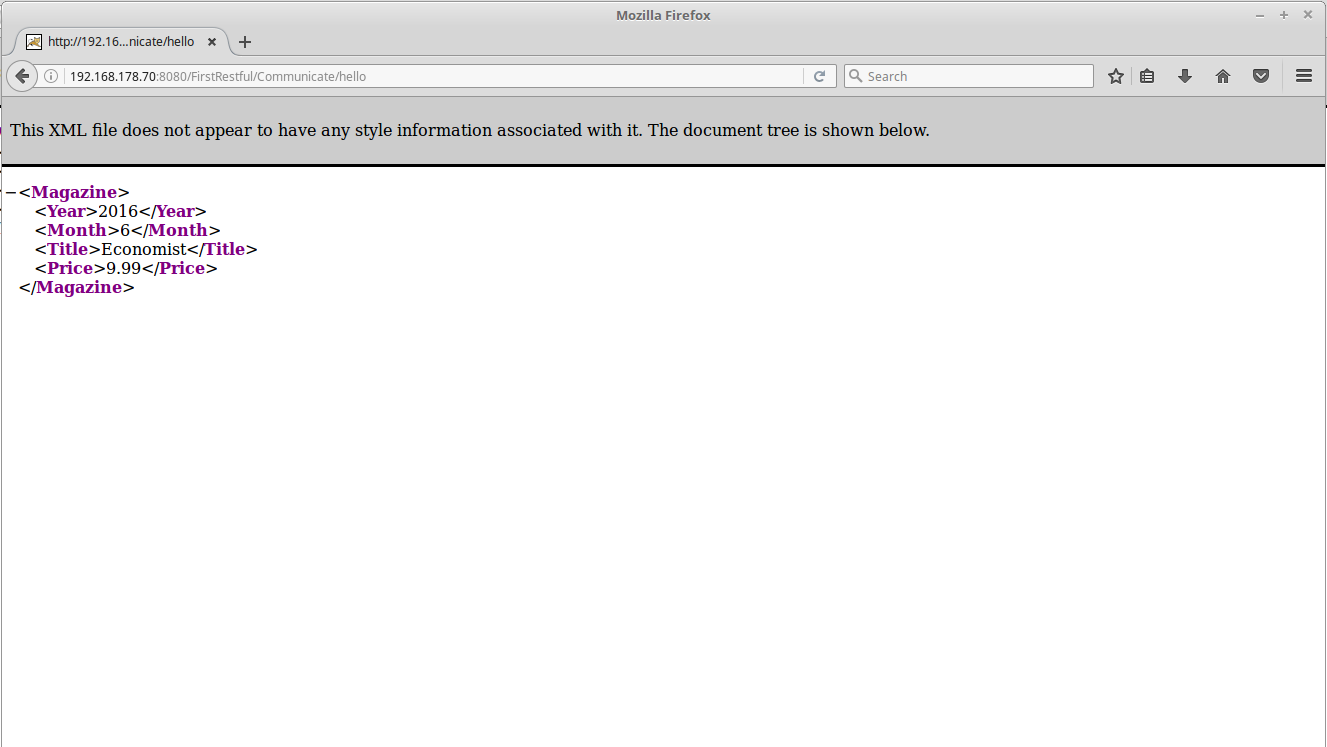
This example creates a small hello world application using restful web services. You can see that the URI to get the hello world is /Communicate/hello, but this is only a part.
Eclipse does a lot for you. One of the things it does is to create the context root of the URI. We can set it to any value we wish in the last step while creating our dynamic web project.
http://192.168.178.70:8080/FirstRestful/Communicate/hello
Step 4 – creating war file
The process of creating a war file couldn’t actually be much easier. Simply right click on the project and select export and select war file. This will open up the following dialog.
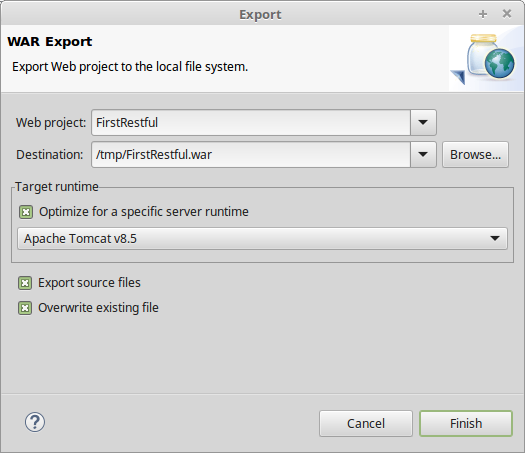
The destination in this case is /tmp. The file is then copied to the /opt/tomcat/webapps directory in a second step. I could have set the permissions on the webapps directory to allow my user to write to it directly, however, that is not very security minded. This isn’t an issue on a development machine but perhaps it is a bad habit to get into in general, thus the manual extra copy step.
The three checkboxes are reasonably clear to their purpose. It is possible to optimize for a specific version of tomcat. Export source files simply includes the source code in the war file. This might be interesting for an internal application for your company but probably a bad idea if you are selling your application.
Step 5 – releasing application to tomcat
Releasing the application is as simple as copying the war file to the/opt/tomcat/webapps.
- stop Tomcat
- copy application to webapps directory
- start Tomcat
Tomcat will unpack the war file into the webapps directory.
Step 6 – viewing the result
Other configuration
In my opinion, this is actually a pretty good URI and isn’t nested too deep. However, it is possible to add another level to it. This additional level is defined in the web.xml file.
   <servlet-name>Jersey RESTful Application</servlet-name>
      <url-pattern>/newlevel/*</url-pattern>
   </servlet-mapping>
With this change, there would be another level added to my URI but that seemed to be excessive to me.
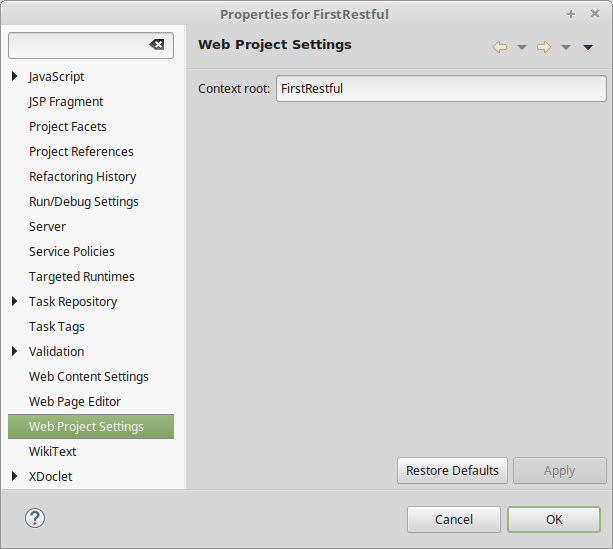
What might really be a better choice might be to change the root context. If you do change your mind you can easily change this to anther value.This is done by simply changing the Web Project settings. This can be selected from the properties menu (right click on the project and select properties).
This is all the steps you would need to do in order to create a working server. This can easily be tested out using your web browser, or you can use other tools. I will discuss that in the next step when I create the first client.
