Always try and use the most appropriate tool for the task. The Apache HTTP server or web server is a program for serving the html web pages to the client who requests them. Tomcat is a application server that is actually used to for serving up Java Servlets or JSPs that are packaged up in a Web Archive file (war).
That isn’t to say that Apache cannot serve up Java Servlets nor does it mean that Tomcat cannot serve up static html pages. Both programs exist because each is specialized for their particular task.
However, in order to create my web client I am going to have Tomcat serve up both the application as well as the static html web page that calls this service. In order to do that, I will need to make a small change to my Tomcat configuration so it can also serve up these static pages.
Static Setup
Tomcat is configured by default for Java Servlets but by adding a tiny bit of extra configuration it will then serve up the static pages.
In the Tomcat configuration directory /opt/tomcat/conf is the server.xml file which contains a lot of the configuration for Tomcat. Simply adding the following line to the Host block will define the location for the static web pages.
<Context docBase="/opt/tomcat/webapps/test" path="/test" />
The docBase attribute points to the path where the static html will be located while the path attribute is the prefix for the web page. With the above setup, the following would be the url to access the index.html page.
http://localhost:8080/test/index.html
This block actually contains more interesting configuration that should probably be explained.
<Host name="localhost" appBase="webapps"
unpackWARs="true" autoDeploy="true">
<!-- SingleSignOn valve, share authentication between web applications
Documentation at: /docs/config/valve.html -->
<!--
<Valve className="org.apache.catalina.authenticator.SingleSignOn" />
-->
<!-- Access log processes all example.
Documentation at: /docs/config/valve.html
Note: The pattern used is equivalent to using pattern="common" -->
<Valve className="org.apache.catalina.valves.AccessLogValve" directory="logs"
prefix="localhost_access_log" suffix=".txt"
pattern="%h %l %u %t "%r" %s %b" />
<Context docBase="/opt/tomcat/webapps/test" path="/test" />
</Host>
The autoDeploy attribute gives the flexibility of deploying a war file while Tomcat is running. This is actually pretty neat, you don’t need to stop and restart the server when installing the new war files. Simply copy the war file to the webapp directory.
While doing some of my testing I simply would remove the war file and the directory that was unpacked from it. After that I would copy over the new war file and wait for a few seconds. At this point I could then call my restful service again. Tomcat would unpack the new war file and then run the application.
Web Client
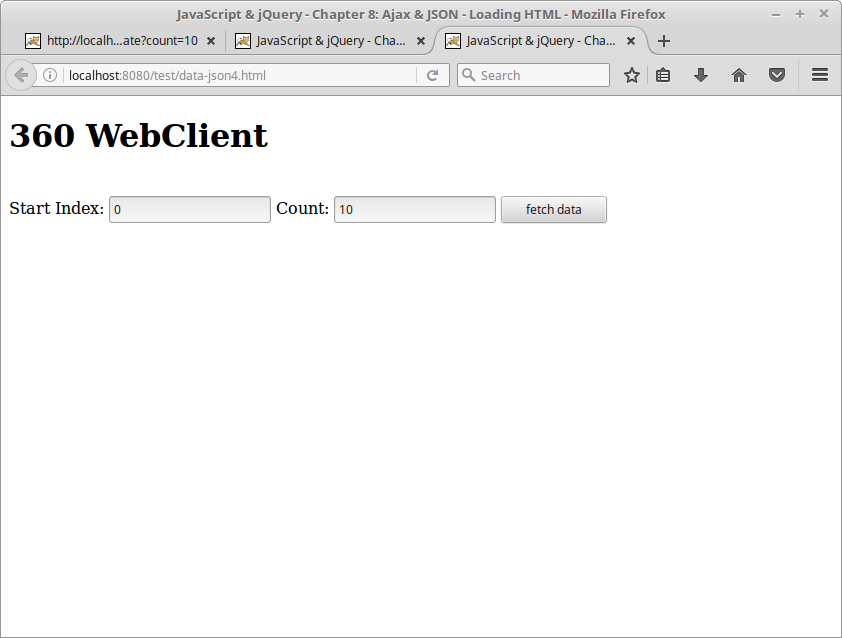
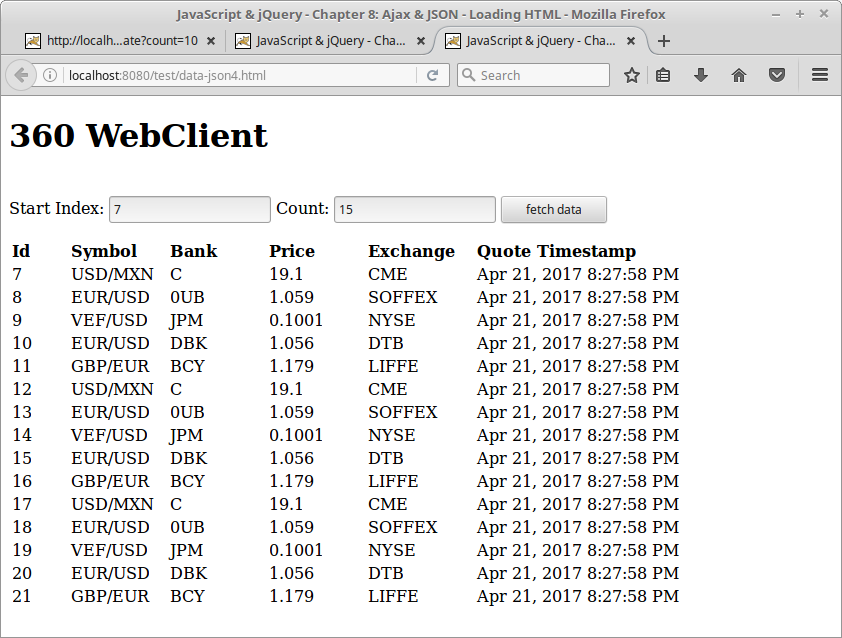
My client is really lightweight. It simply queries the starting index and count of how many items should be retrieved.
Simply enter the values that you are interested in and click on the “fetch data” button.
The actual html for the webpage itself is trivial. It simply makes the restful call and then parses the return list and displays each item.
The tricky part is not displaying the fields, gather the input or the button but actually the java script behind the webpage to make the AJAX call. I am not a web developer so I will just try and point out the interesting things for the AJAX call.
360 Web Client Code
<!DOCTYPE html>
<html>
<head>
<meta charset="UTF-8">
<title>JavaScript & jQuery - Chapter 8: Ajax & JSON - Loading HTML</title>
<script src="js/jquery-1.12.1.js"></script>
<script>
function displayname() {
var start = document.getElementById("startidx").value;
var count = document.getElementById("count").value;
var xhr = new XMLHttpRequest(); // Create XMLHttpRequest object
var myurl = "";
myurl = 'http://localhost:8080/ThirdRestful/price/fetch?start=' + start + '&count=' + count;
xhr.open('GET', myurl, false); // Prepare the request
xhr.send(null); // Send the request
responseObject = JSON.parse(xhr.responseText);
var newContent = '';
newContent += '<table align="left">';
newContent += '<tr>';
newContent += ' <th align="left">Id</th>';
newContent += ' <th align="left">Symbol</th>';
newContent += ' <th align="left">Bank</th>';
newContent += ' <th align="left">Price</th>';
newContent += ' <th align="left">Exchange</th>';
newContent += ' <th align="left">Quote Timestamp</th>';
newContent += '</tr>';
for (i = 0; i < responseObject.records.length; i++)
{
newContent += '<tr>';
newContent += '<td width="55px">'; newContent += responseObject.records[i].id; newContent += '</td>';
newContent += '<td width="95px">'; newContent += responseObject.records[i].symbol; newContent += '</td>';
newContent += '<td width="95px">'; newContent += responseObject.records[i].bank; newContent += '</td>';
newContent += '<td width="95px">'; newContent += responseObject.records[i].price; newContent += '</td>';
newContent += '<td width="105px">'; newContent += responseObject.records[i].exchange; newContent += '</td>';
newContent += '<td width="255px">'; newContent += responseObject.records[i].quoteDateTime; newContent += '</td>';
newContent += '</tr>';
}
newContent += '</table>';
document.getElementById('content').innerHTML = newContent;
}
</script>
</head>
<body>
<header><h1>360 WebClient </h1></header>
<br />
<label>Start Index: </label> <input type= text id="startidx" value="0" >
<label>Count: </label> <input type= text id="count" value="10" >
<input id="fetchdata" type="button" value="fetch data" onclick="displayname();" />
<br />
<p id="content"></p>
<br />
</body>
</html>
AJAX is Asynchronous JavaScript and XML which is how you can call your, or someone else’s web services. This is neat because you can then create a fairly complicated page but by using AJAX you can pull in other information on demand to create a more interactive web experience.
I am pulling in all of this via the JavaScript library JQuery. JQuery is not the only JavaScript library but it is one of the most popular ones. It is possible to get either a compressed or uncompressed version of this library from the JQuery site.
My web client allows the user to enter things that interest them and submit that as parameters to the restful web service. The web service could itself go to the internet, read information from a database or perform some calculations – when it was finished that information could be returned to the calling client.
myurl = 'http://localhost:8080/ThirdRestful/price/fetch?start=' + start + '&count=' + count;
More specifically, my example queries the values from the user and builds the URI that will call my service with the parameters in their proper locations.
This code is actually very optimistic as it assumes that the user will be smart enough to enter valid values into both fields before pressing the fetch data button. It also assumes that data will exist.
This last assumption is a bit of a stretch as this is not a bullet proof production program but rather a proof of concept.
Creating test data
Rather than force myself to manually enter the data each time I start my server I have created a restful call to create some data. This is done by simply calling the following URI.
http://localhost:8080/ThirdRestful/price/generate
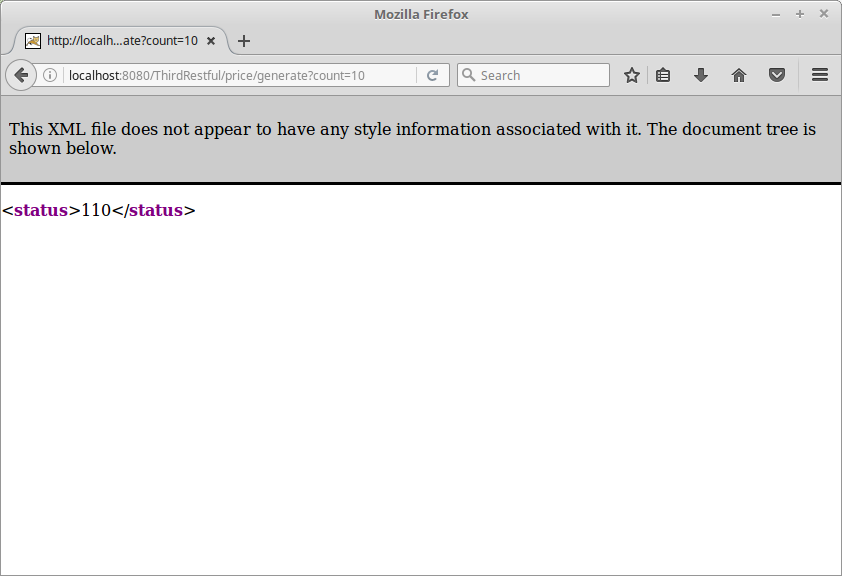
This will generate some somewhat random data in order to better test my client. It is also possible to call this method with a parameter to generate more than the default 20 entries. It is possible to call this method any number of times. The newly generated data will be added to the internal list.
http://localhost:8080/ThirdRestful/price/generate?count=10
The generate method will return the count of the number of items that exist in the list after adding the new day.
This is my last blog article about restful web services for the moment. This is not the only way to create such services but it is a pretty easy way without having hundreds of additional java classes that make up some frameworks.
I think that this is a superior way of generating web services but any critics could easily point to the fact that it is not easy to know what services exist for my particular application – and they are correct.
Another way of producing web services that allow you to see what services are available is to use WSDL . This will describe the web services and it also allows you to generate code which can be used to call each of the defined services.
I did have an opportunity to do just this for connecting with SharePoint. I wasn’t really a big fan of the technology I was given. There were hundreds of lines of auto-generated code and hundreds of files of odd framework code. I suspect that some of the other frameworks out there (ie Spring) also have hundreds of new files but probably in a much better organized way.
I may end up checking out one of these other frameworks at some point, but for right now I will enjoy both the power and simplicity of the small Jersey powered restful server technology.


