
Until you start to actually use Amazon storage (elastic block store) you end up repeating yourself a lot getting your machine images into a working state. This might be something really simple such as adding your world class html code to your web site, or it might be adding other tools to your environment, it could even be the setup of your web server.
In anycase, the act of repeating the same actions time and time again does begin to it lose it charm after about 3 or 4 times. It is possible to actually save the state of your machine images by creating your own custom image. I don’t have an entire data center full of machines so I will start with a single image – the web server.
In my opinion, this turns out that this is actually easier than a lot of other steps that i have had to perform. The steps are pretty easy.
- Pick an existing AMI as base
- Start your image
- Connect to your virtual machine and modify
- Save image with new name
Pick an existing Amazon machine image
A lot of the steps for creating an Amazon machine image, AMI, is actually the same as when you first pick out an image when creating an EC2 instance.
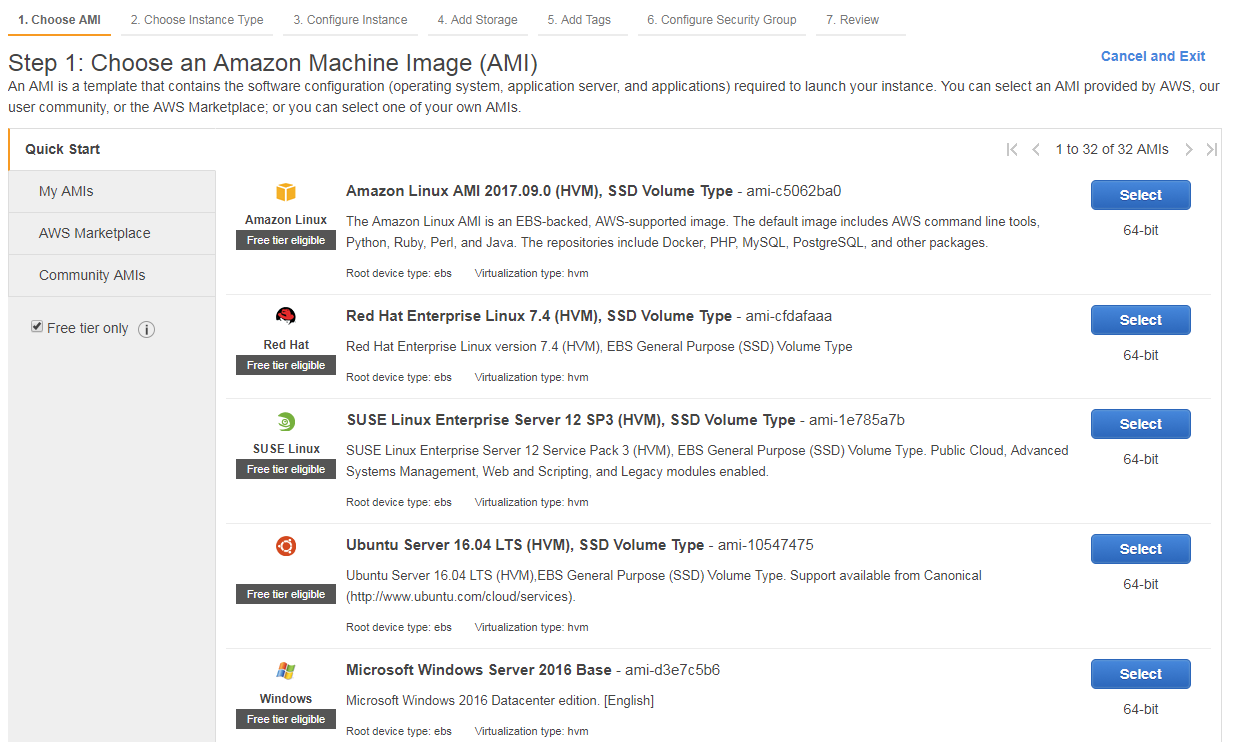
Select an Amazon Machine Image
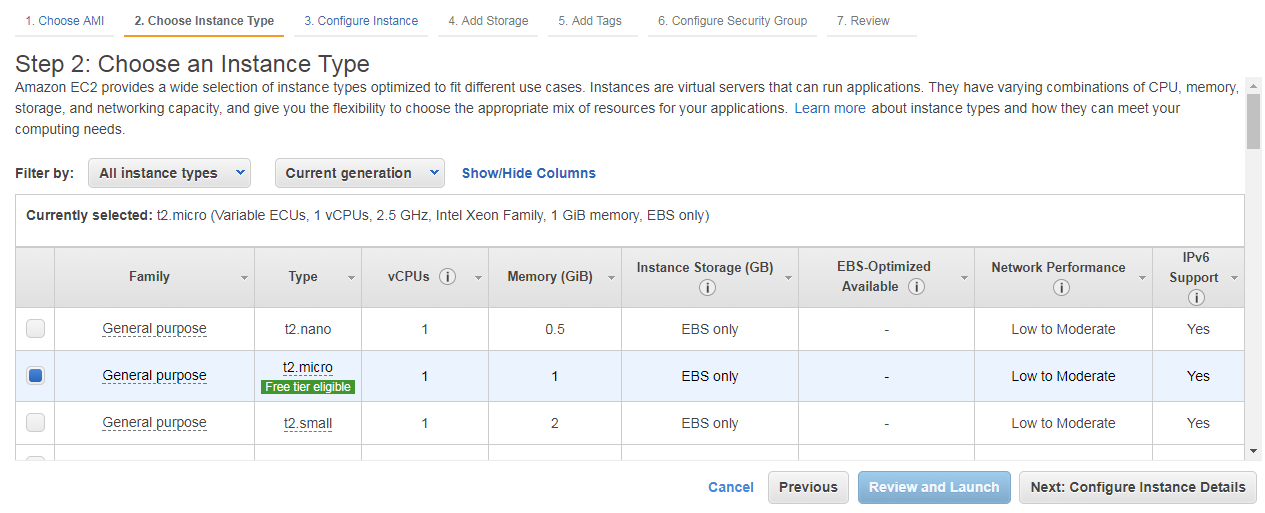
Choose which instance type of that image you wish
It depends on either which linux flavor you desire (or which windows version you require).
Start your image
This is exactly the same steps that you had to perform to start an EC2 image. This has been described in my article “AWS – Setting up EC2”.
Connect to your virtual machine and modify
Connecting to your machine is actually made quite painless by Amazon. Simply select your machine and press the “connect” button on your dashboard. This will bring up a big friendly dialog on how to connect to your machine.
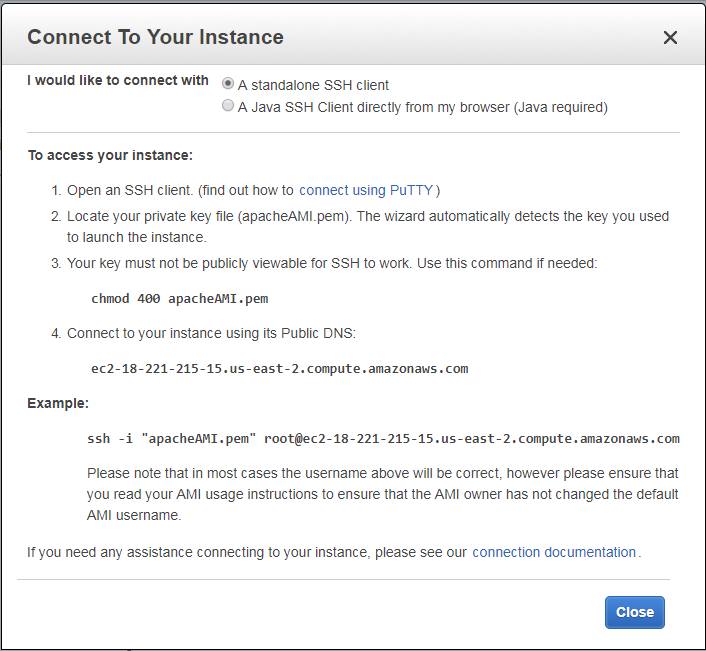
Not only that, it is possible to copy and paste the command from the dialog to your shell.
If you are a windows user or are using some other operating system how to do your connection may vary. Amazon does have instructions for windows users.
Once you are connected to the instance you can do any of the normal command line operations. One such example is the stress command. The stress command comes in handy when testing autoscaling.
I have been using the Amazon Linux image which uses yum for installing software.
sudo yum install stress
Once the stress utility is installed or even Apache web server then you are ready for creating your own image. I didn’t install the entire LAMP for this test but Amazon does describe how to install the entire stack.
Save image with new name
Once you have an instance up and running that contains all of your personal changes the rest is trivial. From the dashboard simply select Image from the “Actions” button and select create image (Actions -> Image -> Create image).
This will bring up a dialog box asking for both the image name and a description of the image.
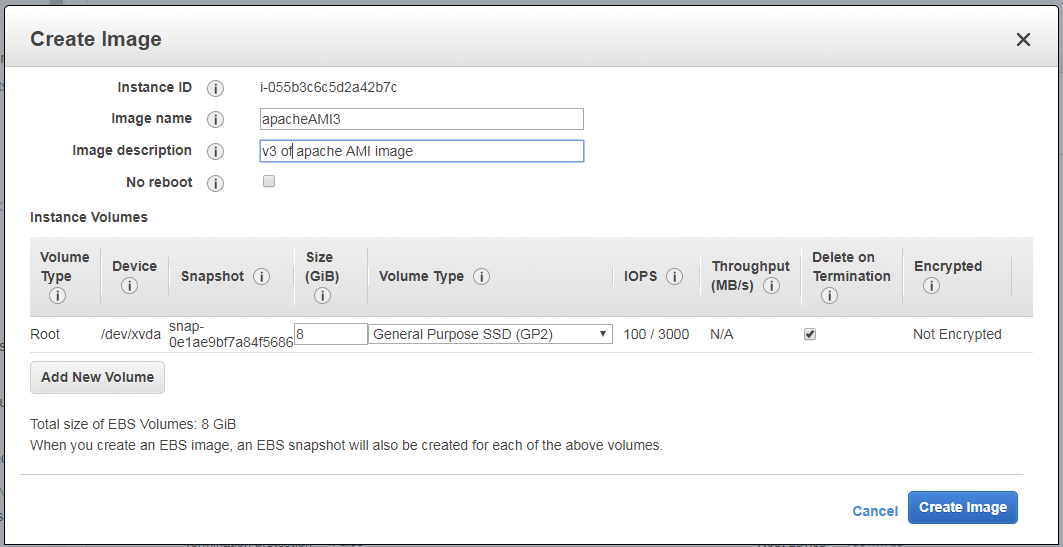
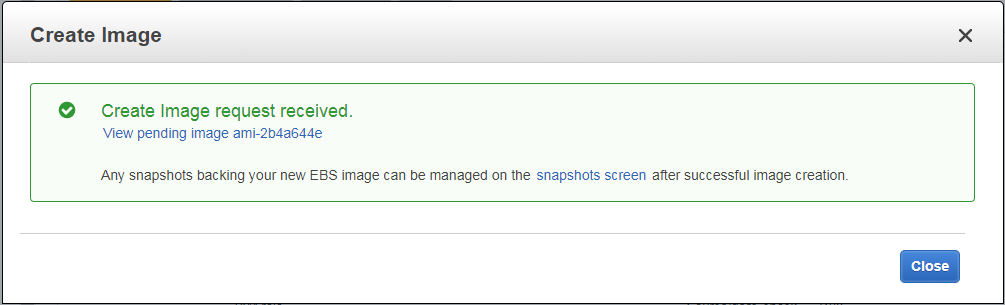
Once you have filled this out press the create image button and after a few minutes the image will be saved under your list of Amazon images.
