
When the Raspberry Pi came out I went a but nuts and ended up getting a few of them. I did give some away and did create some projects but unfortunately not all of my RasPi devices were a complete hit with the family.
Eventually they got unplugged and ended up in a small box, and yesterday that small box fell over. I don’t have enough people interested in ancient Rasberry Pi computers – they are simple model A and B pi’s.
The raspberry pi has been out long enough that there should be a few new projects that these devices could be put into. The first project seemed to be a no-brainer. My wife wanted to print to the printer from her iPad but was unable to. It is possible to make this happen by using the common UNIX printing system or CUPS allows a server to act as a print server.
CUPS uses the internet printing protocol (IPP) for managing print jobs and printer queues. Despite the how obvious this solution seems it was actually created in 1997.
Step 1 – Install operating system
The only thing that was not immediately clear was if he old pi’s needed an old raspbian distribution or if a new distribution image could be used.
There are two different ways to determine this. The first is to download the latest distribution and give it a try. However, apparently my SD cards have a “use by date”. I suspect that this is the casee as my old sdcard worked for a short time and then had some odd behaviors.
Everything did work just fine on a new SD card. This information is also available from the Raspberry Pi forums as well.
The process of actually installing the operating system to a SD card is pretty well defined. This is especially true for raspberry pi organization. For more information on installing the operating system check out their guide.
I used the most current Raspbian that was available from April 10th 2017.
Step 2 – Install and configure Cups
Note: It would be a good idea to ensure that your printer is supported before trying to setup this solution. In my case, the color laserjet CM1312nfi MFP was not in the list. I did feel lucky with this printer as I have installed cups before on LinuxMint and I did not have any problems.
Always a good idea to ensure that your repository is up to date before starting.
sudo apt-get update
sudo apt-get upgrade
Install the cups software
sudo apt-get install cups
Configure cups
The first command is to add the pi user to the printing group (lpadmin) so we do not need to use sudo. The next command is to make cups available to the other computers on our network.
sudo usermod -a -G lpadmin pi
sudo cupsctl --remote-any
sudo /etc/init.d/cups restart
Once we do these commands we must restart the service so the changes to the configuration file are used.
Note: The cupsctl command simply modifies the /etc/cups/cupsd.conf configuration file. The changes are actually quite small, but just to make sure nothing is lost I would recommend that you use the cupsctl command. The changes are highlighted at the end of this post.
Test Cups installation
This is just a matter of pointing your browser to the Raspberry pi that has cups installed. Specifically both the machine and port. When you do that, you should see a screen that looks similar to the following.
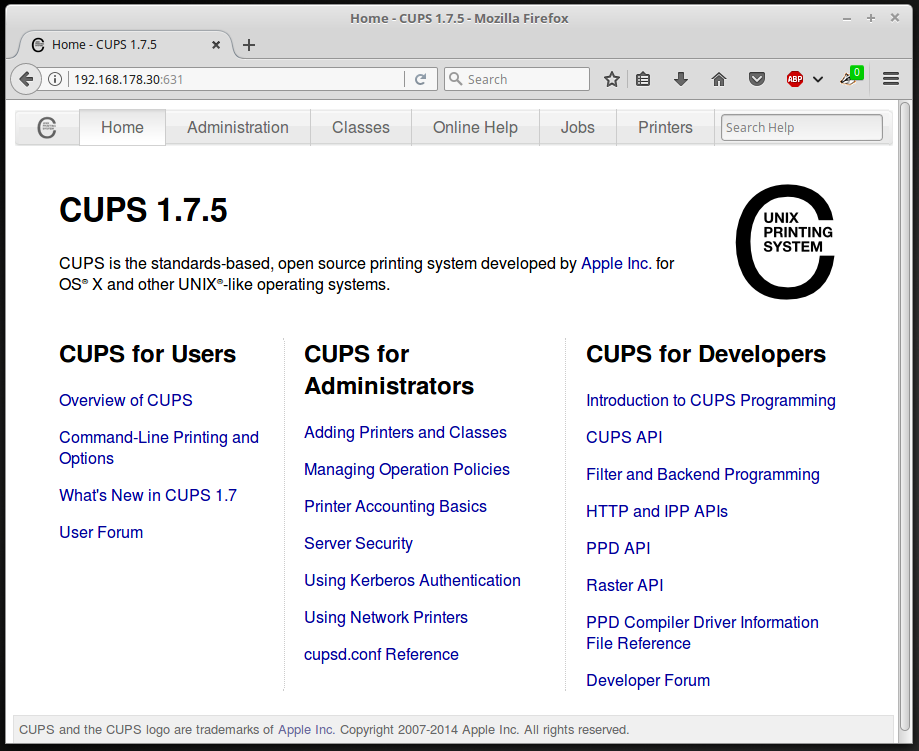
Setup a CUPS printer
The entire process from this point is really quite easy. Simply click on the link for Adding Printers and Classes.

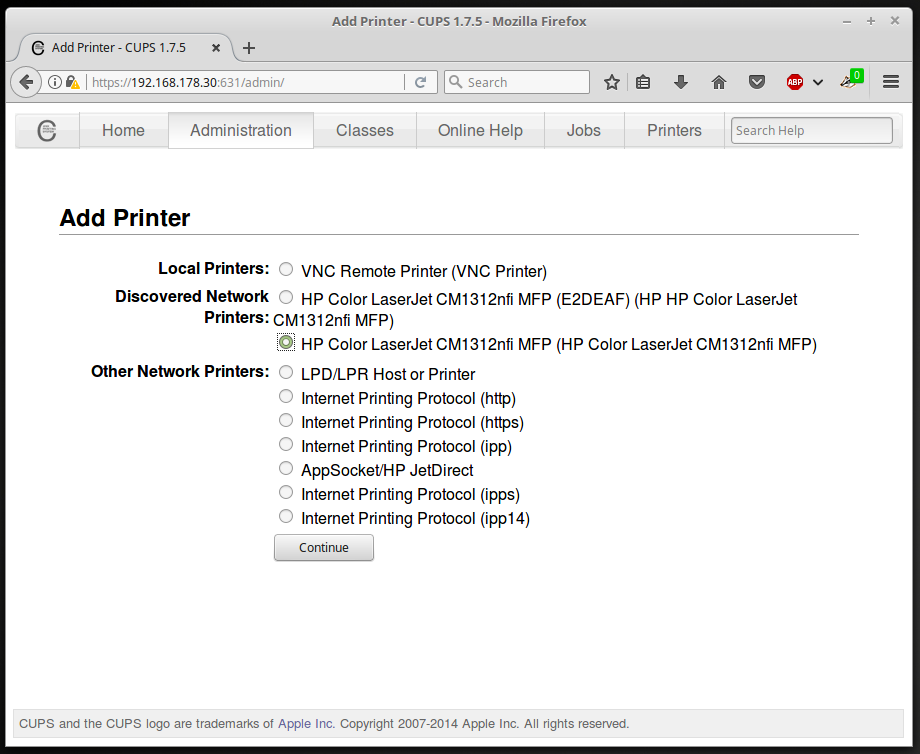
At the beginning I checked to see if my printer was supported (https://www.openprinting.org/printers) and my exact printer was not in the list. However, I have had a lot of luck with HP printers so I went ahead anyway.
I tried the “Find New Printers” option but it did not find my network printer so I simply tried to add a new printer. CUPS did manage to see more printer information relevant to my printer.
Step 1
Step 2 Step 3
Step 4
Step 5
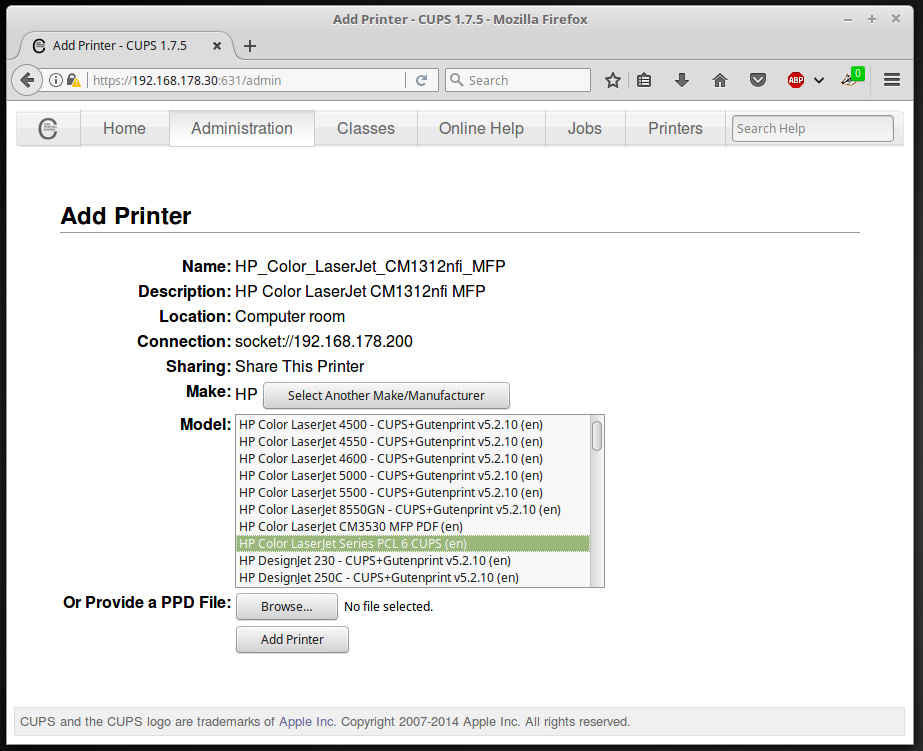
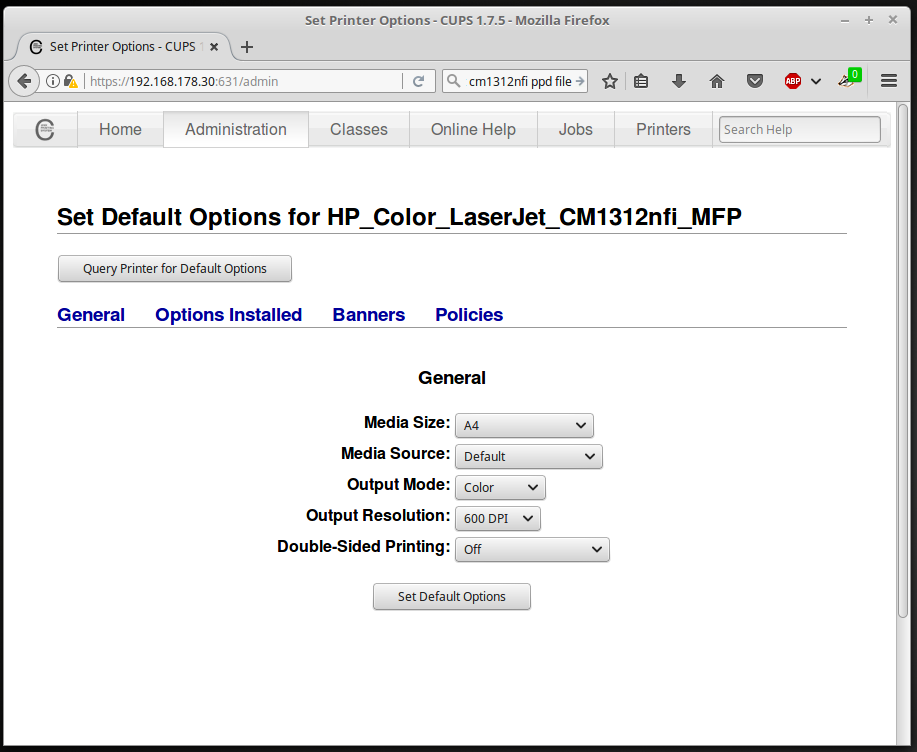
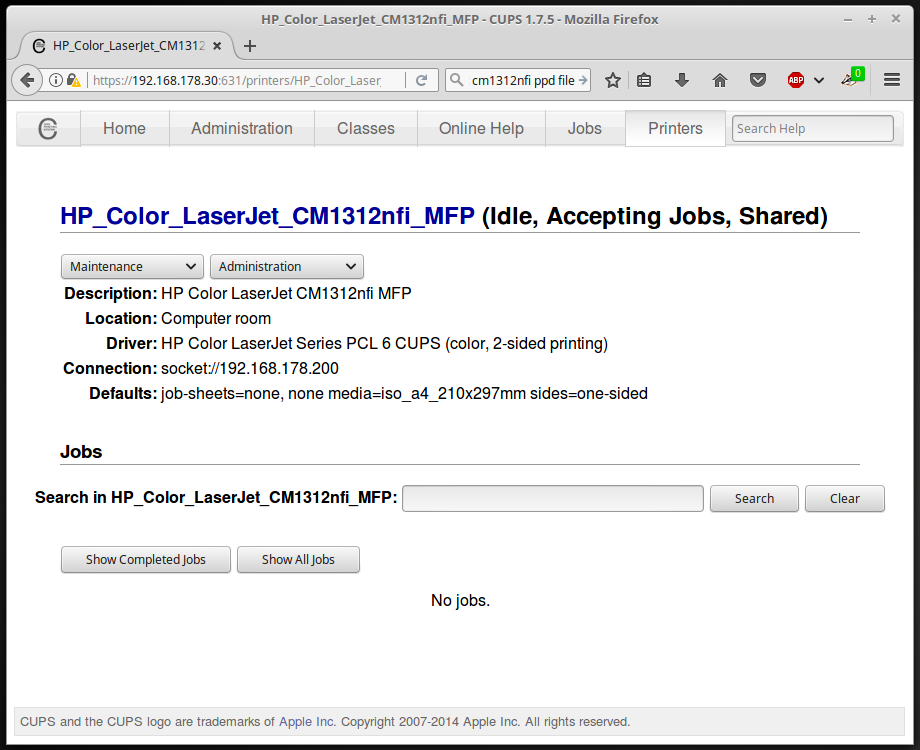
In step 3, as my exact printer model was not in the list I selected “HP Color LaserJet Series PCL 6 CUPS(en)” as my model and continued. The printer appears to have been installed for CUPS.
In order to give this better test, select “Print Test Page” from the Maintenance drop down to generate a test page.
Step 3 – Using the newly setup printer
Well, there is really not much to say here. In my experiment after setting everything up printing was super easy. I just picked up the tablet and from an application, safari in my case, I pressed the print symbol and saw that my printer was an available option.
Printing from Apple Phone, IPad or IPad Touch
https://support.apple.com/en-au/HT201387
When reading up on this there were a couple of things that other people said might be necessary. In order to publish the printer name I might need to install avahi.
sudo apt-get install avahi-daemon
I did not have to install avahi in my case.
It was also mentioned that after setting everything up you might need to wait about 5 minutes for the printer name to be disseminated across the network. I suppose I did wait for a while but I cannot say how long.
Also, apple does provide pretty good possibilities for windows computers as well. The protocol that they use to disseminate the printer information is bonjour. They even make available a client for your windows program so you can take advantage of this as well.
Original cupsd.conf
#
# Sample configuration file for the CUPS scheduler. See "man cupsd.conf" for a
# complete description of this file.
#

# Log general information in error_log - change "warn" to "debug"
# for troubleshooting...
LogLevel warn

# Deactivate CUPS' internal logrotating, as we provide a better one, especially
# LogLevel debug2 gets usable now
MaxLogSize 0

# Only listen for connections from the local machine.
Listen localhost:631
Listen /var/run/cups/cups.sock

# Show shared printers on the local network.
Browsing On
BrowseLocalProtocols dnssd

# Default authentication type, when authentication is required...
DefaultAuthType Basic

# Web interface setting...
WebInterface Yes

# Restrict access to the server...
<Location />
 Order allow,deny
</Location>

# Restrict access to the admin pages...
<Location /admin>
 Order allow,deny
</Location>

# Restrict access to configuration files...
<Location /admin/conf>
 AuthType Default
 Require user @SYSTEM
 Order allow,deny
</Location>

... rest of file follows ...
Changed cupds.conf
LogLevel warn
MaxLogSize 0
# Allow remote access
Port 631
Listen /var/run/cups/cups.sock
Browsing On
BrowseLocalProtocols dnssd
DefaultAuthType Basic
WebInterface Yes
<Location />
 # Allow remote access...
 Order allow,deny
 Allow all
</Location>
<Location /admin>
</Location>
<Location /admin/conf>
 AuthType Default
 Require user @SYSTEM
</Location>

... rest of file follows ...
